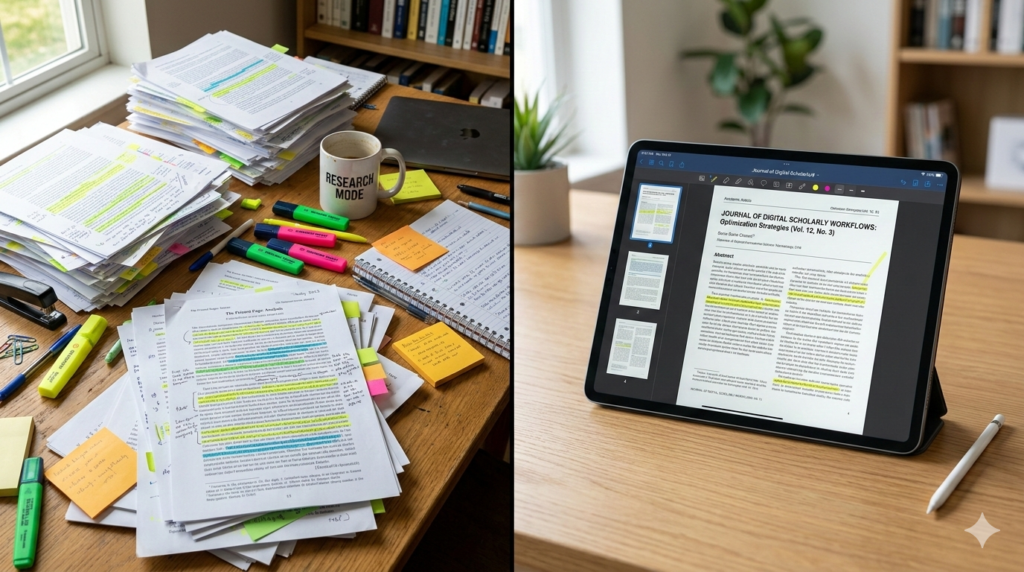
For decades, the life of a researcher or student involved carrying heavy backpacks filled with binders, printing hundreds of pages of journal articles, and buying endless supplies of highlighter pens. While this analog method works, it creates a massive organizational headache. Notes get lost, coffee gets spilled on crucial citations, and finding that one quote you read three weeks ago becomes a scavenger hunt.
Transitioning to a digital workflow saves trees, but more importantly, it saves your sanity. If you are ready to streamline your study habits, this guide will show you how to annotate PDFs digitally, optimize your reading experience on screens, and keep your research accessible anywhere.
What Is Digital Annotation?
Before diving into the “how,” let’s define the “what.”
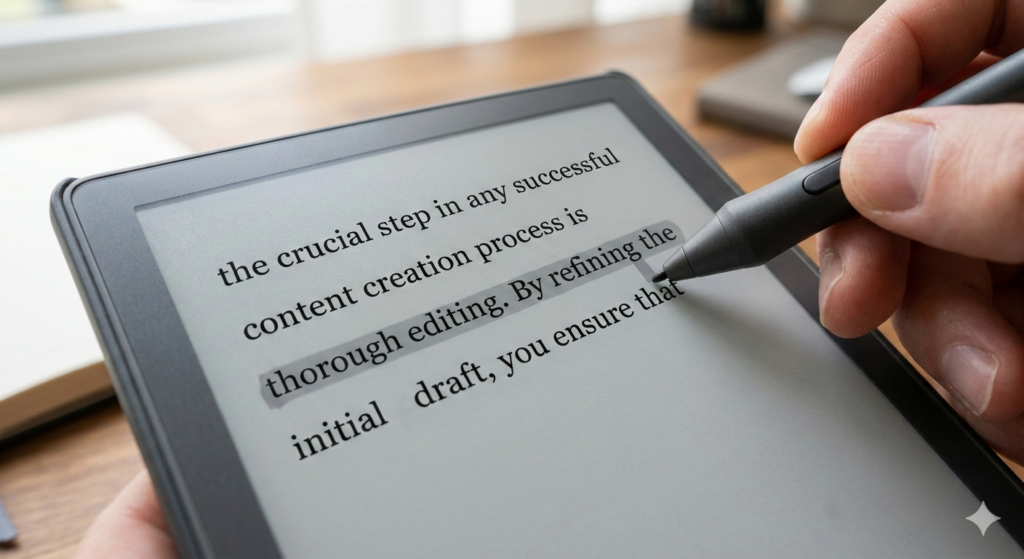
Digital annotation is the process of adding highlights, underline marks, sticky notes, and handwritten margin comments directly onto a PDF file using a computer, tablet, or e-reader. Unlike physical paper, these notes are searchable, erasable, and can be synced across multiple devices for backup.
This method transforms a static document into a dynamic workspace. You are not just reading; you are interacting with the text.
Choosing Your Weapon: iPad vs. E-Ink
The first step in reading scientific papers on an e-reader or tablet is choosing the hardware.
The LCD Route (iPad / Android Tablets)
Standard tablets offer color, speed, and powerful apps like LiquidText or GoodNotes. They are excellent for papers with complex color diagrams or heat maps. However, the backlight can cause significant eye strain during marathon reading sessions.
The E-Ink Route (Onyx Boox / Supernote / Kindle Scribe)
For pure text-heavy academic reading, E-Ink is superior. It mimics paper, meaning you can read for hours without fatigue. Many modern E-Ink tablets run Android, allowing you to install reference managers directly. The trade-off is the lack of color and slower zooming speeds.
The Power of Split Screen Note Taking
One of the greatest advantages of digital study is the “Split Screen” function found on almost all modern tablets.
Instead of flipping back and forth between the PDF and a notebook, you can split the screen in half.
- Left Side: The source material (Journal Article / Textbook).
- Right Side: Your blank notepad.
This allows you to transcribe quotes or summarize concepts in real-time. For a deeper dive on how to structure these summary notes, refer to our guide on Digital Note Taking Mastery: From Handwriting to The Cloud.
Managing Your Digital Library
Annotating is only half the battle; organizing is the other half. If you download PDFs randomly, your “Downloads” folder will quickly become a graveyard of files named document_final_v2.pdf.
OCR and Searchability
Many older academic papers are scanned images, meaning you cannot highlight the text or search for keywords. To fix this, you need to run the file through Optical Character Recognition (OCR).
The Software Hub
While tablets are great for reading, a desktop computer is often better for organizing large bibliographies. Using a robust PDF Editor Software allows you to merge separate chapters into one book, rotate scanned pages, and perform text recognition on older files before you send them to your tablet for reading.
Effective Highlighting Strategies
Digital tools give you an infinite palette of colors, but using them all can lead to the “Rainbow Effect,” where everything is highlighted, and nothing stands out.
The Traffic Light System:
- Yellow: Key definitions or core arguments.
- Green: Methodology or evidence supporting the claim.
- Red (or Pink): Points you disagree with or need to verify later.
By sticking to a strict color code, you can skim a 50-page paper in minutes and instantly recognize the structure of the argument.
Conclusion
Learning how to annotate PDFs digitally is a force multiplier for students and researchers. It allows you to carry an entire library in your bag, search through thousands of pages in seconds, and keep your notes permanently backed up.
Whether you prefer the crisp response of an iPad or the paper-like comfort of E-Ink, the principle remains the same: stop treating digital files like static images. Engage with them, mark them up, and let your software handle the organization so you can focus on the analysis.
Frequently Asked Questions (FAQ)
1. Can I export my highlights to a Word document?
Yes. Most dedicated PDF apps (like PDF Expert or Mendeley) allow you to “Export Summaries.” This pulls all your highlighted text and margin notes into a separate text file, saving you from re-typing quotes.
2. Is it better to type or handwrite annotations?
For retention, handwriting is better. Writing in the margins with a stylus forces you to synthesize the information. However, typing sticky notes is better for legibility if you plan to share the document with collaborators.
3. How do I annotate on a standard Kindle?
Standard Kindles (like the Paperwhite) allow you to highlight text by holding your finger on a word and dragging. You can also add typed notes via the on-screen keyboard. However, you cannot write in the margins unless you have a stylus-enabled device like the Kindle Scribe or Kobo Elipsa.
4. What if the PDF is locked or password protected?
You generally cannot annotate a secured PDF. You will need to use PDF editing software to remove the security restrictions (if you have the legal right to do so) or print it to a new PDF file to “flatten” the security before annotating.
5. Does annotating increase the file size?
Slightly, but usually not enough to matter. Adding text layers and vector ink strokes takes up very little space compared to images. You can annotate thousands of papers without filling up a modern tablet’s storage.